Cleaning a bathtub deeply is one of those chores people put off until it feels unavoidable. The good news is it’s not complicated, just a bit time-consuming if you haven’t done it in a while. This guide walks through what to clean, how to clean it, and where grime usually hides. Some people even take cues from a trusted cleaning service when they want results that actually last.
The goal here isn’t speed. It’s getting the tub clean enough that regular upkeep feels easier later on. You might notice a few steps overlap, and that’s normal. Cleaning is kind of repetitive by nature, you know.
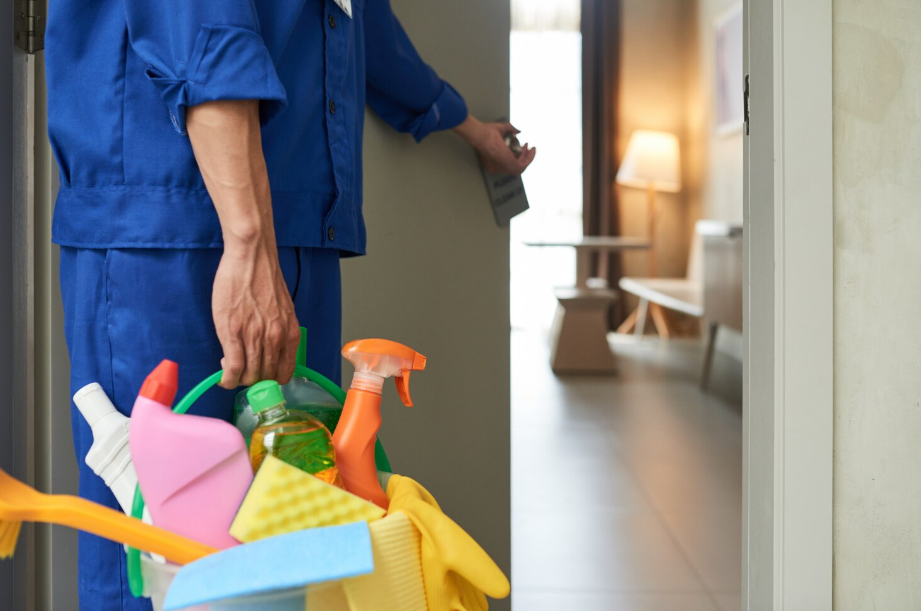
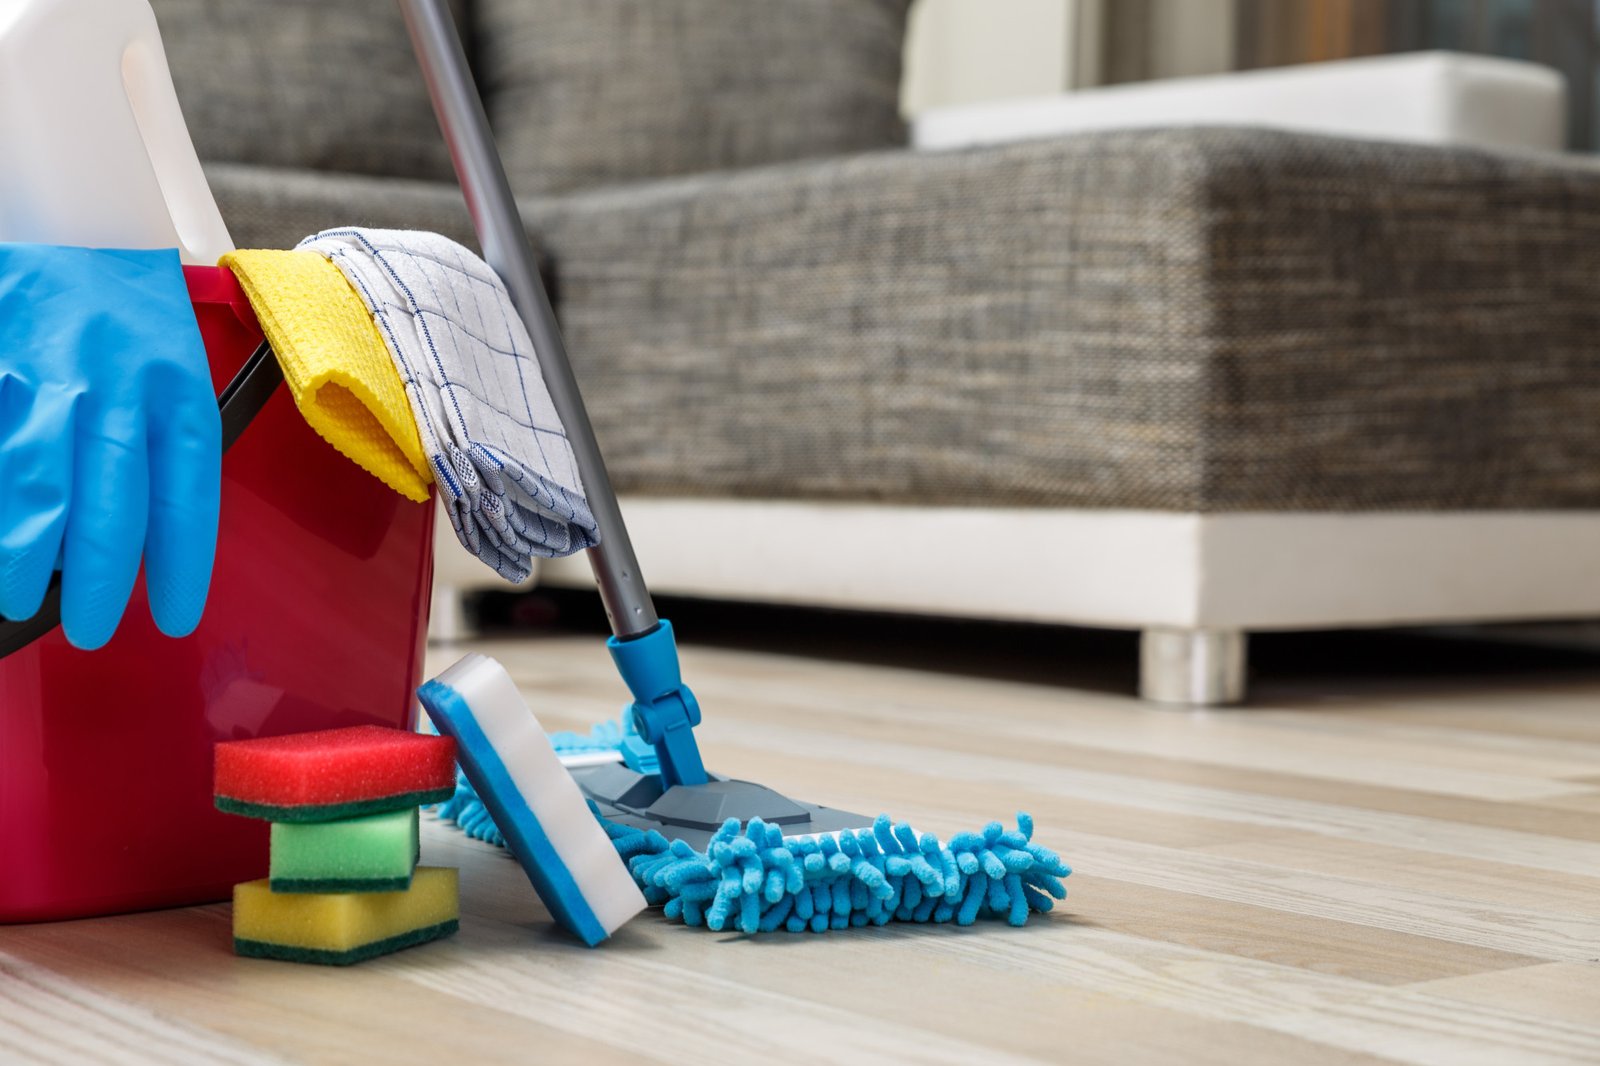
Gather Your Cleaning Supplies
Before touching the tub, it helps to have everything nearby. Running back and forth for supplies halfway through can break the flow, and then the job drags. Gloves, a scrub brush, microfiber cloths, and a basic cleaner usually cover most needs. A spray bottle and some white vinegar are useful, too, especially for buildup.
Nothing fancy is required here. If you already have cleaning products under the sink, they’ll probably work fine. Just avoid anything overly harsh if your tub has a delicate finish. Keeping supplies in a small bucket or caddy makes the process feel more manageable.
Pre-Treat Tough Stains
Some stains need a little patience before scrubbing even helps. Start by applying cleaner directly to spots that look darker or feel rough. Let it sit for several minutes so it can soften the grime. This pause matters more than people think.
If a stain still looks stubborn, light scrubbing can help before rinsing. There’s no need to rush or press too hard. Let the cleaner do most of the work. Reading the product label can save you from damaging the surface.
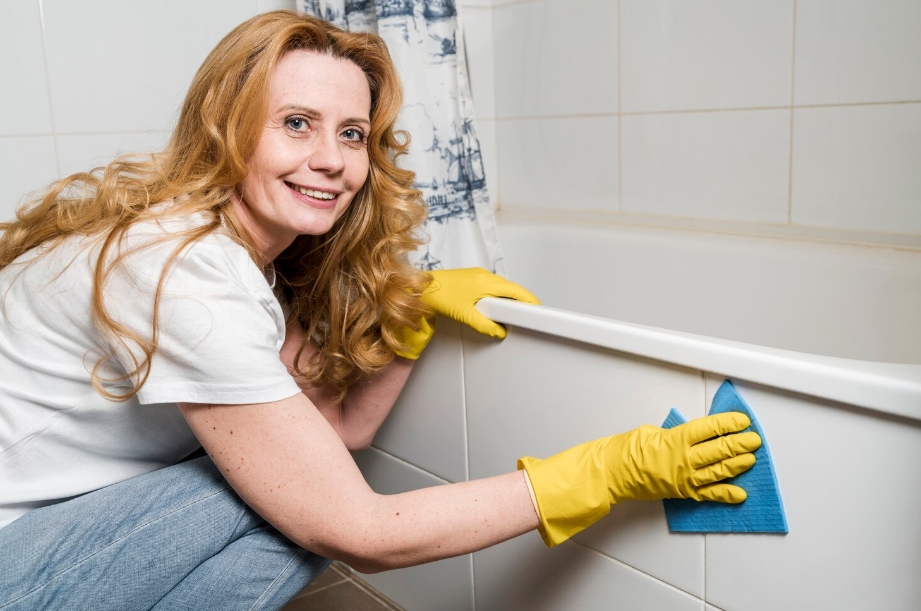
Scrub and Rinse the Tub
Once stains are loosened, it’s time to scrub the entire tub. Work across the surface slowly, paying extra attention to corners and edges. Circular motions usually help lift residue without spreading it around. You’ll probably notice areas that were dirtier than they first appeared.
Rinsing is just as important as scrubbing. Make sure no cleaner or residue stays behind, especially near the drain. Leftover product can dull the finish over time. A thorough rinse leaves the tub looking cleaner and feeling smoother.
Address Grout and Caulk
Grout and caulk tend to show wear before the tub itself does. Take a moment to look closely for discoloration, cracking, or soft spots. A simple mix of water and vinegar can help clean mild buildup. Scrub gently so the grout doesn’t wear down.
If caulk is peeling or cracked, it’s better to replace it than ignore it. Removing old caulk carefully helps the new seal adhere properly. Once cleaned and resealed, these areas look better and stay cleaner longer. It’s a small step that makes a noticeable difference.
Polish the Tub Surface
After everything is clean, polishing gives the tub that finished look. Use a non-abrasive polish and a soft cloth to avoid scratches. Work slowly and evenly across the surface. You don’t need much product to see a difference.
Buffing brings back shine and smoothness. Wipe away any leftover polish with a damp cloth so nothing feels slippery. This step isn’t required every time, but it does make the tub feel new again. Kind of satisfying, honestly.
Maintain a Clean Tub
Keeping the tub clean gets easier once the deep work is done. A quick rinse after use helps prevent soap scum from settling. Weekly light cleaning keeps stains from coming back. These small habits save time later.
Checking the drain and wiping down walls can also help. None of it takes long, just a few minutes here and there. Over time, the tub stays cleaner with less effort. That’s usually the goal anyway.
Related Topics: